


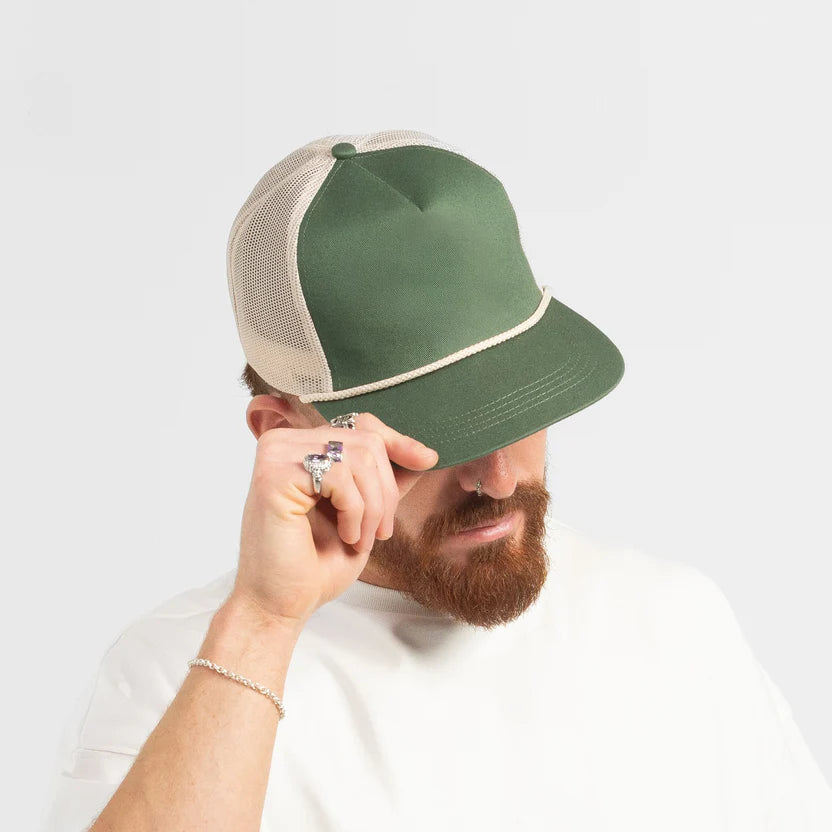


How to Clean a Vintage Hat
If you’re like us, odds are you wear your vintage snapbacks everywhere. Playing sports, at concerts, at the bar, or even when you’re just sitting around your crib working from home. Given our attachments to these vintage hats, which we tend to treat more like extensions of our body, they are prone to a little bit of wear and tear along the way. A little bit of kick up on the mud flaps if you will.
Most of the time, sweat is the culprit, leaving nasty yellow or white trail marks around the crown or brim. But any number of things could make their way onto your vintage hat. It could be paint from that neon glow party you went to in 2016. Or maybe you got a little too excited over a pizza pie and some tomato sauce made its way onto the brim of your vintage snapback. Whatever the case may be, we’re here to provide a solution for you.
The Solution to Cleaning a Vintage Hat
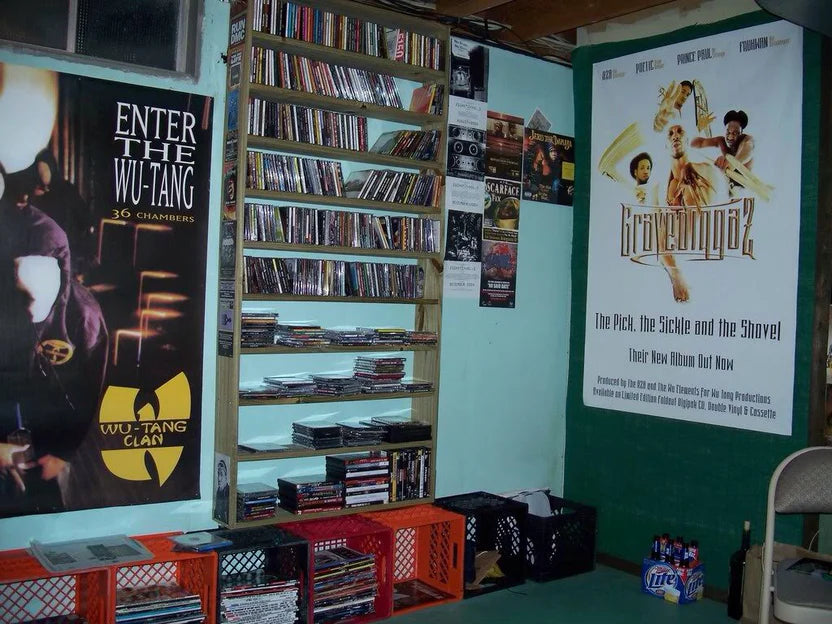
You see, the founder of Snag & Stitch is no ordinary vintage apparel retailer. Behind the scenes, in his vintage clothing and snapback shop headquartered in Denver, Scott takes on a Walter White like character. Resurrecting battered and bruised retro hats, like rising Frankenstein from the dead.
Don’t be mistaken, most of, if not all of the vintage hats and snapbacks we pick up are in great condition and don’t need any maintenance. But when we see a sick retro hat that looks like it could live another life with a little bit of tender loving care, we can’t resist.
But what kind of vintage clothing company would we be if we didn’t share these secrets with you? Odds are you might have a vintage hat that’s been put through the wringer. And we bet you rather not leave that lid on a shelf. So here’s how you can clean and restore your favorite vintage hat.
How to Clean a Vintage Hat
***WARNING, DON’T CLEAN VINTAGE HATS MADE OF CORDUROY THIS WAY**
Step 1:
Fill a bucket of hot water. NOT BOILING. Just as hot as the faucet will get. And make sure the water is deep enough for the vintage hat to be fully submerged.
Step 2:
Throw a scoop of OxiClean and a splash of detergent in there and swirl it around
Step 3:
Dunk that sucker in. Remember, make sure the vintage hat is entirely submerged. Swish it around, be gentle with it but make sure you get your hands on it and try to massage the stains with your thumbs or towel. And make sure not to wear the fabric.
Step 4:
If you have an old toothbrush or scrubber, anything with bristles, scrub down the more stubborn spots that won’t come out with the same elixir mentioned earlier (OxiClean, a splash of detergent, and some hot, but not boiling water). But again, be gentle. These are vintage hats that may not have the same resilience as before,
Step 5:
After the soak, what you’re going to want to do is tighten the vintage snapback to the furthest snap. Or if it’s a vintage strapback then tighten the strap as much as you can.
Step 6:
Next, comes the drying part, which will begin by lightly and delicately squeezing the water out of the crown. Stay away from the brim as squeezing it could misconfigure it. Remember, these are vintage hats so they need to be taken care of gently during these situations.
Step 7:
Finally, you want to find a bowl (for eating) and throw the vintage hat over the bottom of the bowl so it fits snugly. It is CRITICAL that you snap the hat to the appropriate size or else you risk it stretching.
Step 8:
Monitor your vintage hat. Once it gets dry enough, try it on and see if it fits well. If you follow our steps on how to clean a vintage hat, you should be looking brand new in no time.
Interested in learning the ways to mold and shape your vintage snapbacks and hats so they fit your head perfectly just the way you want it to? Check out our blog on how to mold and shape your vintage hat.
Don’t let a fresh retro snapback sit on your shelf just because of a stain or two. Bring that vintage classic back to life with the steps we’ve provided.